


Elevate Your Interiors
with Trendy Tiles Display
Tiles That Speak the Language of Design.
16th Jun, 2024
.jpg)
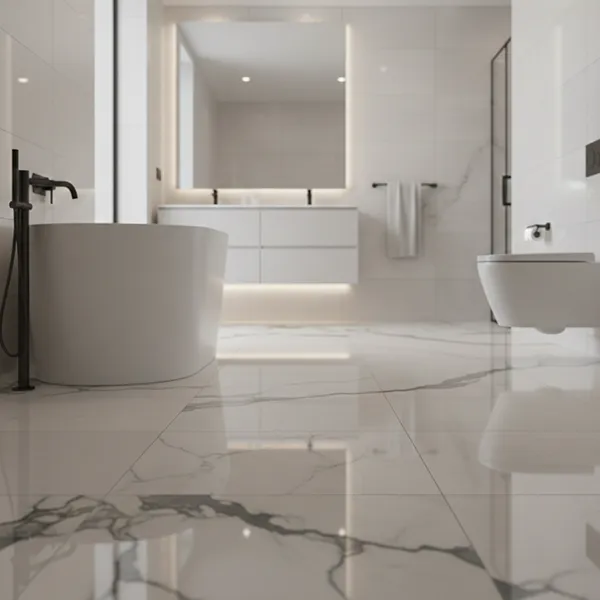
You've always dreamed of a bathroom that looks like it came straight out of a design magazine. The sleek shower, the elegant tub, the sparkling tiles that make the whole room feel bright and airy. But how do you actually make that dream bathroom a reality? That's where a 3D tile visualizer comes in. In this guide, we'll walk you step-by-step through the process of using one of these nifty tools to design your dream bathroom. We'll look at how to pick tiles, lay them out virtually, and see how they'll look in your space before you ever have to lift a hammer. With the right visualizer, you'll be able to create photorealistic renderings of your design that let you tweak and perfect every little detail. So read on to learn how you can finally have the bathroom you've always wanted, without any expensive or time-consuming mistakes. This is the ultimate guide to making all your bathroom dreams come true with the help of 3D tile visualization.
A 3D tile visualizer is design software that allows you to see what different tile patterns, colors, and textures will look like in your actual bathroom space before installing them. Using 3D modeling, they create a digital replica of your bathroom and then let you apply different tiles to the floors, walls, tub and shower surrounds, and countertops.

To use a 3D tile visualizer, you'll first need to enter the dimensions of your bathroom, including any features like windows, doors, cabinets, and plumbing fixtures. The software then creates a 3D model of the space. Next, you can browse through thousands of tile options, selecting tiles that match your desired style. Apply the tiles to the various surfaces in your bathroom by simply clicking or dragging and dropping.
The major benefit of 3D tile visualization is that it allows you to experiment with different tile designs without the cost or mess of purchasing and installing actual tiles. You can play around with patterns, grout colors, and tile placements to find an option you love before committing to it. It also helps ensure the tile sizes, styles, and colors you choose will complement your bathroom's size and architecture. With a 3D tile visualizer, you can feel confident that your final tile selection will look as stunning in your actual bathroom as it does on screen.
A 3D tile visualizer allows you to see what your bathroom will actually look like with different tile choices before you purchase anything.Save Time and Money Rather than buying multiple tile options and returning what you don’t need, a visualizer lets you find the perfect tile the first time. You can zoom in on the virtual designs to see the textures and details. This helps ensure you end up with tiles you’ll be happy with long-term.
Maybe you’re undecided between a patterned feature wall and tile floors, or wondering how subway tile will look in your shower. A 3D visualizer makes it easy to try various layouts and get a realistic sense of the finished product. You might even discover an option you never would have considered otherwise!
With a visualizer, you can input your bathroom’s exact measurements to create a virtual model of the space. This allows you to figure out the best way to lay out your chosen tiles to minimize cutting and wasted material. You’ll know exactly how many tiles you need to purchase, and you’ll feel confident the end result will look cohesive.
Using a 3D tile visualizer for your bathroom renovation is a no-brainer. It provides an effortless way to explore different styles and ensure you end up with a design you’ll love—all before you purchase a single tile! Now the hardest part will be deciding which of the stunning options is your favorite.

The first step is selecting a 3D tile visualizer that suits your needs and budget. Look for an interactive tool that allows you to see what different tiles will look like on your bathroom walls and floors. Many are free to use, while some paid options provide more realistic renderings and design flexibility. Compare a few options to find one you’re comfortable with.
You’ll need accurate measurements of your bathroom walls and floorspace to design the layout in the visualizer. Measure the length, width, and height of each wall. Note the locations of windows, doors, plumbing fixtures, and any protrusions. Then measure the floor area where you want to place tiles. Double check all measurements to avoid issues when purchasing materials or during installation.
Enter your bathroom measurements and the specifications of tile options you’re considering into the visualizer. Many allow you to choose from a library of tiles in different shapes, sizes, colors and patterns. You may also be able to upload images of tiles you want to use. Input additional elements like grout color and trim to create a realistic design.
Now the fun part experimenting with different tile layouts and patterns! Try a few options for your walls and floors to determine what you like best in terms of scale, contrast and flow. Get a second opinion from others if needed. Once you decide on a final design, the visualizer will provide a materials estimate to purchase everything you need to bring your bathrooms new look to life.
The first step to designing your bathroom with a 3D tile visualizer is to get accurate measurements of your space. Use a tape measure to get the length, width, and height of your bathroom walls and any architectural elements like windows, doors, alcoves, etc. Be sure to also measure the dimensions of your bathtub, shower, vanity, toilet, and any other fixtures.
With measurements in hand, you can now create a basic floorplan to use in the 3D tile visualizer. A floorplan is a simple overhead view of your bathroom space. To make one, draw a rough sketch of your bathroom layout on graph paper, indicating the location of walls, doors, windows, and fixtures. Note the dimensions of each wall and fixture. Your floorplan doesn’t need to be perfectly to scale, but the relative sizes and positions of everything should be correct.
A precise floorplan and list of dimensions are crucial for designing an accurate 3D model of your bathroom. The tile visualizer will use this information to create a virtual replica of your space so you can experiment with different tile patterns, colors, and layouts. So take your time measuring and double check that all the details in your floorplan are correct before moving on to the next step. With an accurate floorplan, you’ll be able to visualize tile designs with confidence knowing they’ll work in your real bathroom.
When designing your bathroom, a 3D tile visualizer can help bring your vision to life. There are a few popular options out there, so how do you choose?
The best 3D tile visualizers offer features like a large collection of tile textures, shapes and patterns to choose from. They should also allow you to upload photos of your actual bathroom space. Look for ones that let you view tile layouts from multiple angles. Some even provide estimates for the amount of tile needed for your project.
Some highly-rated 3D tile visualizer options include:
Tile Visualizer by The Tile Shop. Free to use with thousands of tile options. Upload photos and view layouts from multiple angles. Provides tile quantity estimates.
Smart Tiles 3D Visualizer. Also free, with a huge range of tile choices. Create multi-angle views and save/share designs. Does not provide tile quantity estimates.
2020 Design. Paid software for professional designers and DIYers. Massive tile collection and advanced design features like pattern repeats and grout color options. Multi-angle views, quantity estimates and more. There is a bit of a learning curve but many find it worth the investment.
In the end, the best 3D tile visualizer for you depends on your needs, skill level, and budget. Any of the options above would be a great place to start. Play around with a few and see which one brings your bathroom vision to life in the most realistic, user-friendly way. With the right visualizer at your fingertips, you’ll be well on your way to designing your dream bathroom.
Choosing tiles is one of the most fun parts of designing your bathroom! Browse the options on your 3D tile visualizer and pick styles that match your vision. Keep in mind factors like color, texture, size, and material.
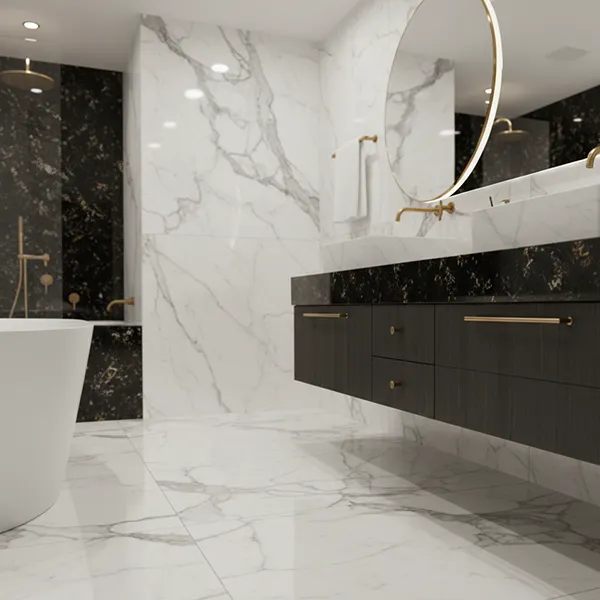
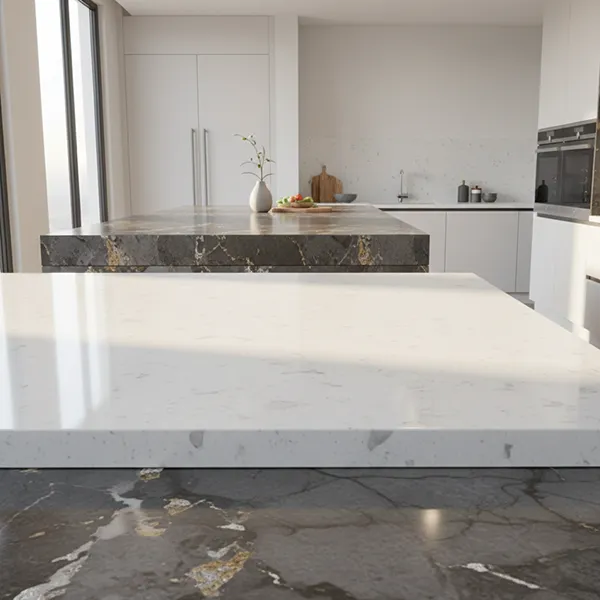
The major tile categories are ceramic, porcelain, natural stone, and glass. Ceramic and porcelain tiles are affordable, durable and come in lots of styles. Natural stone like marble or granite adds luxury but requires more maintenance. Glass tiles provide a sleek, modern look.

Stick to a cohesive color scheme for your bathroom. Warm tones like beige, brown and terracotta create a cozy feel while cool gray, blue and green are more contemporary. Don’t be afraid to mix different tile colors, sizes or patterns—as long as there’s an overall sense of harmony. Contrasting grout colors can make tile patterns pop.
Choosing different tile sizes for walls, floors, showers or countertops adds visual interest. Use larger tiles, like 12 by 24 inches, on walls and floors to make a space appear more open. Mosaics, tiles 2 inches or less, are ideal for showers or as decorative accents. Mixing tile sizes within one area creates a dynamic, custom look.
Once you’ve selected your tiles, simply upload photos of them to your 3D tile visualizer. It will map the tiles onto the 3D model of your bathroom so you can see how everything comes together. Make any final tweaks to the tile placement or grout colors before heading to the home improvement store to purchase your tiles. With the right tiles and a little creativity, you'll have designed a bathroom you love!
Once you’ve selected some tiles you like, it’s time to start laying them out in the 3D room visualizer. Play around with different layouts and patterns to see what you like best.
The simplest pattern is a straight set, where tiles are laid in a straight line, with grout lines matching up. This works well for small bathrooms or accent walls. Offset rows for some visual interest.
For a bolder look, lay tiles on a diagonal. Start from one corner and work diagonally across the wall. This helps make a narrow space appear wider and adds drama. You may need to cut border tiles to fit.
Get creative with a random layout, mixing up tile sizes, colors, and orientations. Start with your larger main tiles, then fill in around them with smaller accent tiles. Step back and make sure there’s a good balance before setting the pattern.
Choose a pattern you like, whether geometric or freeform, and repeat it across the wall. Using tile decals or stencils can help you recreate the pattern evenly. For high visual impact, carry the pattern across multiple walls.
With the 3D tile visualizer, you can quickly see how each layout option transforms the look and feel of your space. Keep experimenting until you find a design that makes you smile. The possibilities are endless!
Once you've placed all your tiles in the design area, it's time to review your work and make any necessary changes. Zoom in and out, rotate and pan around to view your design from multiple perspectives. Look for any tiles that seem out of place or alignment. The 3D visualization allows you to see how the tiles will actually look in your bathroom, rather than just a flat 2D image.
Double check that the tile sizes, patterns, and colors work well together and that the layout appears balanced. The grout lines should also flow nicely from one tile to the next. If anything looks off, simply select the tile and move or replace it.
You may need to make minor adjustments to the tile placement for the most accurate and aesthetically pleasing result. The 3D tile visualizer gives you the freedom to experiment with different looks by rearranging tiles on the spot without needing to actually handle and install the tiles. Keep tweaking your design until you achieve the perfect bathroom tile scheme.
Once satisfied, you can save and print your tile design to use as a reference during the actual installation. Or, provide the design plan to a professional tiler to handle the job. Either way, you'll have confidence knowing you created a well-thought out tile layout that will transform your bathroom into a stylish space.
Once you have a design you’re happy with, it’s time to finalize the details before installation. Double check that you have the right tile sizes, types, and amounts for your space. Measure the walls and floors to determine how much of each tile you’ll need, then order about 10% extra to account for waste.
Make sure you understand the tile pattern completely. Have the tile shop print you a full-scale drawing of one repeat of the pattern to take to your installer. This helps ensure the pattern is centered and aligned properly in the room. It’s also a good idea to have the shop cut a few of the tiles for you so you can see exactly what the pattern will look like with the grout color you’ve chosen.
Review the type of tile you’ve selected to ensure it’s suitable for a bathroom. Ceramic and porcelain tiles can withstand humidity well. Natural stone tiles require sealing to prevent staining and water damage. Glass tiles may etch over time with harsh cleaners. Check that your grout and sealant products are specifically for bathrooms to avoid issues.
Once everything looks perfect in the visualizer, you’re ready to start demolition and installation. Take pictures of your design and measurements with you for reference. While the work is underway, make any final changes before the tiles are adhered to the walls and floors. With some upfront planning, you’ll have a bathroom designed in virtual reality come to life right before your eyes!
So there you have it - a step-by-step guide to creating your dream bathroom design with a 3D tile visualizer. Using this powerful but user-friendly tool, you can bring your vision to life and see how everything will look before you ever lift a hammer. No more guessing or worrying that your tiles and fixtures won't work well together. Just follow the tips outlined here to design, visualize, tweak, finalize, and install your perfect bathroom. With the right preparation and the magic of 3D technology, you'll be soaking in your spa-like oasis in no time. The only thing left to do is get started and make that bathroom you've always imagined a reality!
