


Elevate Your Interiors
with Trendy Tiles Display
Tiles That Speak the Language of Design.
11th Jun, 2025
_(13).jpg)
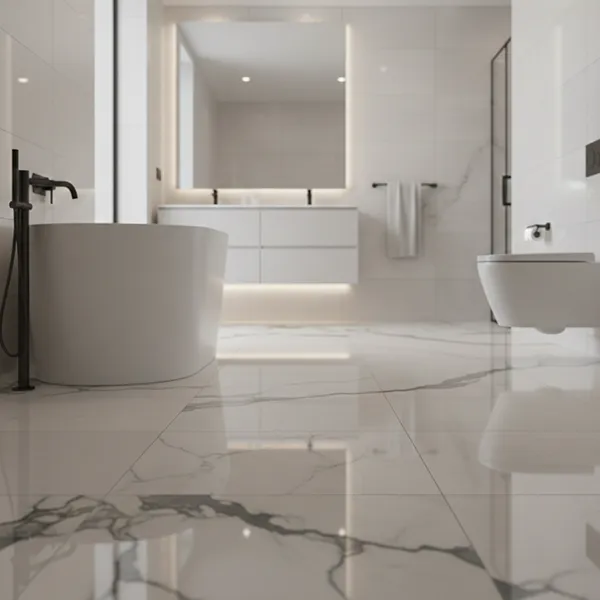
Visualization is a crucial component of modern interior design. With the advent of advanced mobile and desktop applications, the process of selecting and testing ceramic tiles has become more streamlined and interactive. Ceramic tile visualizer apps empower users to preview their space with different tile options, helping to make informed and confident design decisions. This guide is intended for homeowners, interior designers, DIY enthusiasts, and real estate professionals looking to explore or enhance their use of tile visualizer technology.
A ceramic tile visualizer app is a digital platform—either mobile, desktop, or web-based—that allows users to preview ceramic tile installations in a simulated environment. The user can either upload a photo of their room or choose from preset templates to view how different tiles would look in real-time. These apps provide essential features such as:
3D room rendering
Tile pattern and layout selection
Color palette adjustments
Compatibility with different tile materials
Tile visualizer apps provide a significant edge over traditional design methods. They enhance decision-making by enabling users to test various design combinations without physically altering their space. Key benefits include:
Time and Cost Efficiency: Reduces the need for multiple samples and trips to showrooms.
Improved Accuracy: Offers realistic previews that match lighting and spatial conditions.
Fewer Returns: Helps in selecting the right product the first time, minimizing the hassle of returns.

Modern tile visualizer apps incorporate cutting-edge features that streamline the design process:
Augmented Reality (AR): Allows users to project tiles into real environments using a smartphone or tablet.
Real-Time Room Simulation: Enables instantaneous adjustments to tile layouts, colors, and patterns.
Multi-Angle Viewing: Provides dynamic views to evaluate designs from different perspectives.
AI-Powered Suggestions: Recommends color combinations and layout patterns based on room type and lighting.
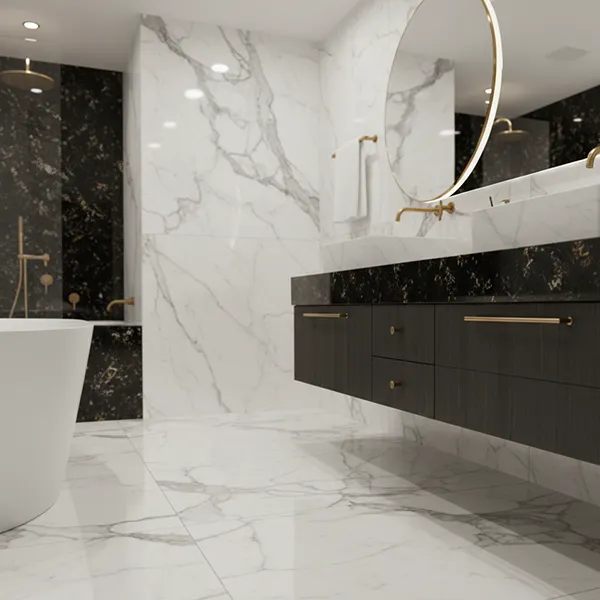
TilesDisplay stands out as one of the most advanced and user-friendly ceramic tile visualizer apps in 2025. Designed for homeowners, interior designers, architects, and tile retailers, it transforms the way users explore and select tiles for their spaces. With its AI-powered engine and realistic 3D rendering capabilities, TilesDisplay allows users to visualize ceramic tiles in real-time across a wide range of room types, including living rooms, bathrooms, kitchens, and commercial spaces.
One of its standout features is the ability to upload custom room images, enabling users to see exactly how different tile designs, colors, and layouts will look in their own environment. The app also includes options to adjust grout colors, switch between tile patterns (horizontal, vertical, herringbone, etc.), and preview designs in 360-degree views for a more immersive experience.
Whether you're planning a home renovation, guiding a client through design options, or showcasing your tile products online, TilesDisplay streamlines the decision-making process. It not only enhances visualization but also boosts confidence in design choices, reducing the risk of post-installation dissatisfaction. With its intuitive interface, rich feature set, and high-quality outputs, TilesDisplay is redefining the tile selection experience in 2025.
Choosing the right app depends on several factors. Budget-conscious users might prefer free versions with basic functionality, while professionals may opt for feature-rich subscriptions. Usability is critical; intuitive interfaces are preferable for DIY users, while professionals may prioritize integration with design software like AutoCAD or SketchUp. Consider the level of customization, design library size, and whether the app supports high-resolution export or project sharing.
When selecting a tile visualizer, consider the following factors:
User Interface: Choose an app with an intuitive and easy-to-navigate interface.
Customization Options: Opt for apps that let you tweak tile sizes, grout width, and lighting.
Integration: Look for tools compatible with CAD software if you're working on a larger project.
Support and Updates: Ensure regular updates and customer support are available.
.jpg)
Start by downloading the tile visualizer app from the App Store, Google Play Store, or the official website if it's web-based. Ensure that your device meets the minimum system requirements—especially if using AR or 3D features.
You can either take a photo of your actual room (e.g., kitchen, bathroom, living room) or choose a sample room template provided within the app. Using a real image gives more personalized and realistic results.
Explore the app’s tile library. You can filter tiles based on material (ceramic, porcelain, stone), color palettes, sizes (e.g., 12x24, 18x18), and even surface finishes like matte or gloss. Some apps also allow search by brand or collection.
Choose your desired layout pattern—herringbone, diagonal, straight lay, basketweave, etc. Adjust tile spacing (grout width) and orientation to see how it transforms the space. This step lets you explore different visual rhythms and alignments.
View your design in a 2D or 3D simulation. Most apps allow you to save the project for later revisions, export it as an image, or share it with family members, clients, or contractors. Sharing capabilities often include email, cloud storage, or social media integration.
For homeowners embarking on renovation or remodeling projects, tile visualizer apps are game-changers. They enable users to test multiple styles, materials, and layouts in a digital format before making a financial commitment. This not only reduces uncertainty but also empowers homeowners to make confident, informed decisions that reflect their personal style and budget. For instance, a couple renovating their kitchen used Roomvo to compare subway tiles versus large-format ceramics, ultimately saving on unnecessary sample purchases.

Interior designers leverage visualizer apps to streamline their workflow and improve client communication. Instead of relying solely on mood boards or sketches, designers can present immersive, interactive previews that reflect real-time changes in color, texture, and pattern. This enhances the client experience and shortens the approval cycle. For example, a boutique design firm used Ceramic 3D to create and present three bathroom concepts for a high-end client, gaining instant feedback and securing the project contract.
In real estate and property development, visual impact is everything. Developers use tile visualizer apps to offer potential buyers virtual walk-throughs of model homes with customizable tile finishes. This allows prospects to personalize their future spaces even before purchase, increasing buyer engagement and satisfaction. A real estate firm in London reported a 22% increase in buyer conversion after implementing interactive tile preview stations using a web-based visualizer.
Tile visualizer apps provide a comprehensive catalog of materials to help users make the best choice based on function, aesthetics, and maintenance needs. Here's a breakdown of the most common tile types available for simulation within these tools:
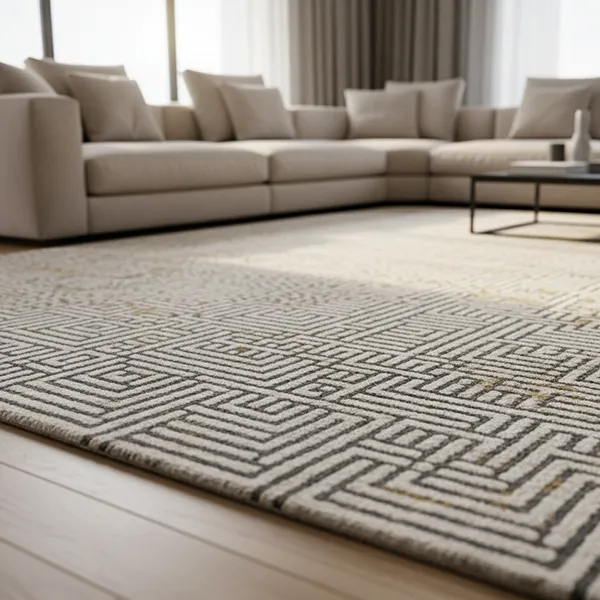
Best Use: Indoor applications such as bathrooms, kitchens, and living areas.
Advantages: Lightweight, cost-effective, and easy to install.
Maintenance: Simple to clean and maintain with regular sweeping and mopping.
Visualizer Insights: Most apps allow users to simulate a variety of ceramic styles, including gloss and matte finishes, patterned designs, and solid colors.
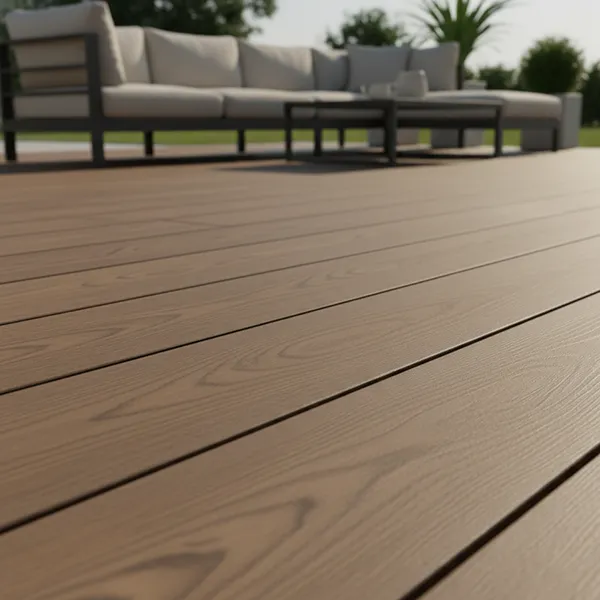
Best Use: High-traffic areas, both indoors and outdoors.
Advantages: Denser, more water-resistant, and highly durable—ideal for patios, hallways, and commercial spaces.
Maintenance: Requires minimal upkeep; resists scratches and stains better than ceramic.
Visualizer Insights: Visualizers often feature advanced filters to test slip-resistant porcelain finishes and simulate moisture-prone areas like pool surrounds or shower floors.
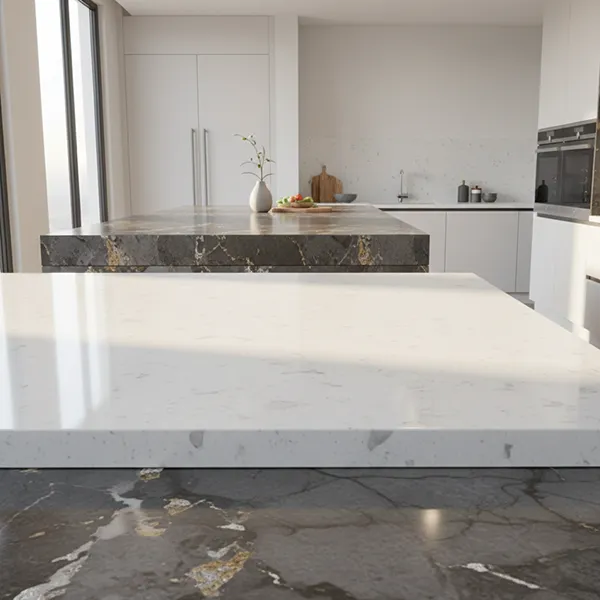
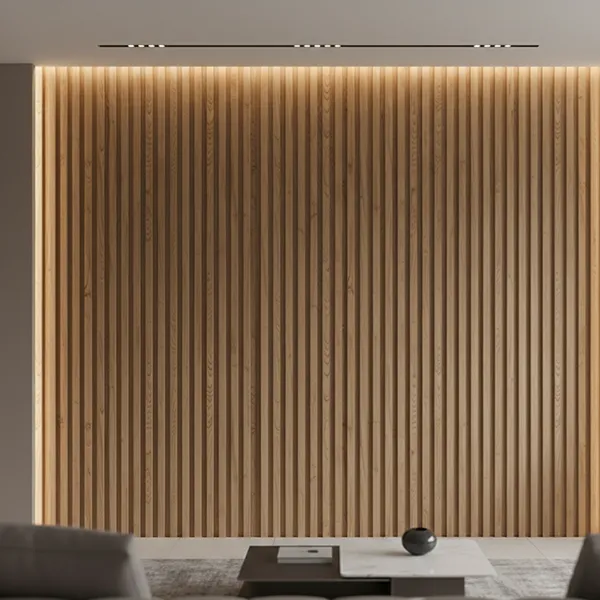
Best Use: Luxury bathrooms, statement walls, and premium commercial interiors.
Advantages: Each tile is unique, offering unparalleled beauty and texture. Includes options like marble, granite, slate, limestone, and travertine.
Maintenance: Requires sealing and specialized cleaning; more sensitive to moisture and staining.
Visualizer Insights: High-end visualizer apps offer realistic textures and lighting adjustments to simulate the true depth and color variation found in natural stone.
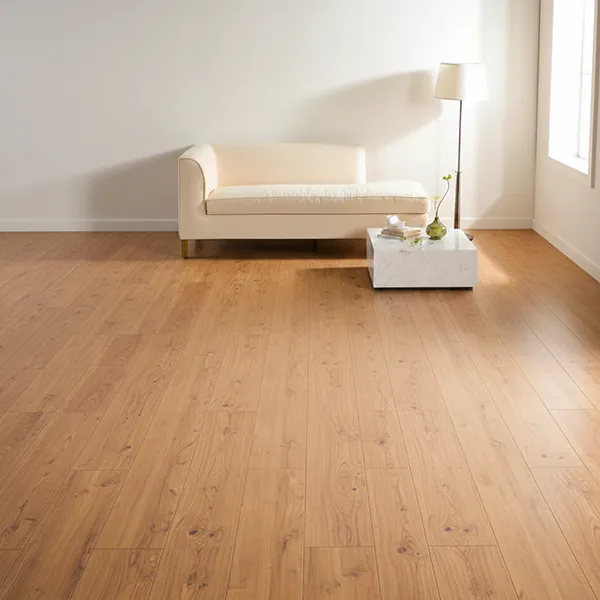
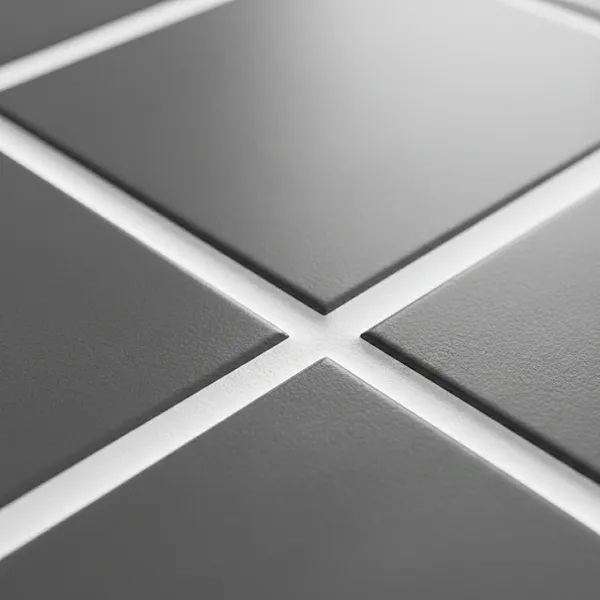
Using a tile visualizer app effectively isn’t just about experimenting with tile shapes and colors—it’s about applying foundational design principles that ensure your virtual layout translates beautifully in real life. Here are three critical concepts to incorporate into your tile planning process:
Purpose: To create harmony between the tiles and the room’s existing elements such as walls, furniture, and fixtures.
Application: Use the color wheel to identify complementary, analogous, or monochromatic schemes. For example, pairing cool gray floor tiles with navy cabinetry can evoke a modern and calming ambiance.
Pro Tip: Most visualizer apps offer filters or suggestions that follow basic color theory, helping you maintain aesthetic consistency.
Purpose: To ensure a balanced and cohesive look throughout the space.
Application: Align tiles to the room’s geometry—straight-lay for a clean look, diagonal for dynamic movement, and herringbone or chevron for artistic flair. Pay attention to grout lines and continuity, especially when dealing with open floor plans.
Pro Tip: Use the visualizer’s zoom and rotate tools to closely inspect tile joints and edge alignments.
Purpose: Lighting dramatically impacts how tile color and texture appear in a space.
Application: Test your designs under various lighting conditions offered by the app, including natural daylight, warm LED, and cool fluorescent. This helps simulate the real-world environment where the tiles will be installed.
Pro Tip: Prioritize this step if the room has large windows or relies heavily on artificial lighting, as these can alter color perception significantly.
High convenience and accessibility
Realistic previews and customization
Reduces costly design mistakes
Dependent on device capabilities
Realism may vary across apps
Learning curve for complex features
To truly maximize the potential of a tile visualizer app, it's essential to move beyond basic usage and leverage advanced techniques that enhance accuracy, collaboration, and creative flexibility. Here are key tips to help you achieve professional-grade results:
Why it matters: Low-quality images can distort how tiles appear, especially when zooming or applying 3D effects.
Best practice: Capture well-lit, high-resolution photos of the space using a modern smartphone or camera. Ensure the photo is taken from a central, level angle to maintain spatial accuracy.
Why it matters: Exploring different patterns (like grid, offset, or herringbone) can reveal better design alternatives you may not have initially considered.
Best practice: Save multiple versions of your design to compare them side by side and discuss options with others involved in the project.
Why it matters: The same tile can look completely different under warm vs. cool light or during different times of day.
Best practice: Use the app’s lighting simulation settings to toggle between natural daylight, ambient lighting, and artificial light sources. This helps you predict how your tile selection will truly appear once installed.
Why it matters: Collaborating with designers, contractors, or family members requires clear communication. Visual mockups are powerful tools for feedback and decision-making.
Best practice: Export your designs as high-quality images or PDFs, annotate key details (like tile dimensions and codes), and send them via email or cloud platforms for easy access.
Effective renovation projects require collaboration. Share visualizations with your contractors and designers for feedback. Sync selected tiles with your material supplier to ensure availability. Use the app as a live reference during the installation phase to maintain consistency from planning to execution.
As digital design tools evolve, tile visualizer apps are quickly adopting next-gen technologies that promise to revolutionize how we plan, preview, and personalize our spaces. Below are the emerging trends poised to reshape the tile visualization landscape in the coming years:
What’s changing: Visualizer apps are beginning to use artificial intelligence to analyze user preferences—such as past designs, material choices, and color trends—to offer personalized recommendations.
How it helps: AI-driven suggestions can streamline the design process by curating tile options that align with your aesthetic style, project type, or even regional design trends.
Example: A user who frequently selects neutral palettes might automatically be shown new beige-toned or stone-textured tiles upon login.
What’s changing: VR integration allows users to immerse themselves fully in their digitally tiled environment through headsets or immersive viewing modes.
How it helps: Instead of static previews or 2D screens, users can virtually walk through kitchens, bathrooms, or patios and experience scale, lighting, and texture in a spatial context.
Example: Real estate agents and showroom retailers can offer virtual model homes where buyers experience custom tile finishes before construction even begins.
Ceramic tile visualizer apps have changed the game for interior renovations. Whether you're a homeowner, a design professional, or a real estate agent, these tools provide unprecedented accuracy, customization, and efficiency. By choosing the right app and applying thoughtful design principles, you can transform any space confidently and creatively.
Many offer free versions with basic tools, while advanced features may require a subscription.
Yes, many apps include options for patios, balconies, and walkways.
Smartphones and tablets with ARKit (iOS) or ARCore (Android) support AR functionalities.
High-quality apps offer accurate previews with photorealistic rendering, especially under correct lighting settings.
Absolutely. Many professionals use them for client presentations, design testing, and workflow integration.
