






















Elevate Your Interiors
with Trendy Tiles Display
Tiles That Speak the Language of Design.
13th Aug, 2026
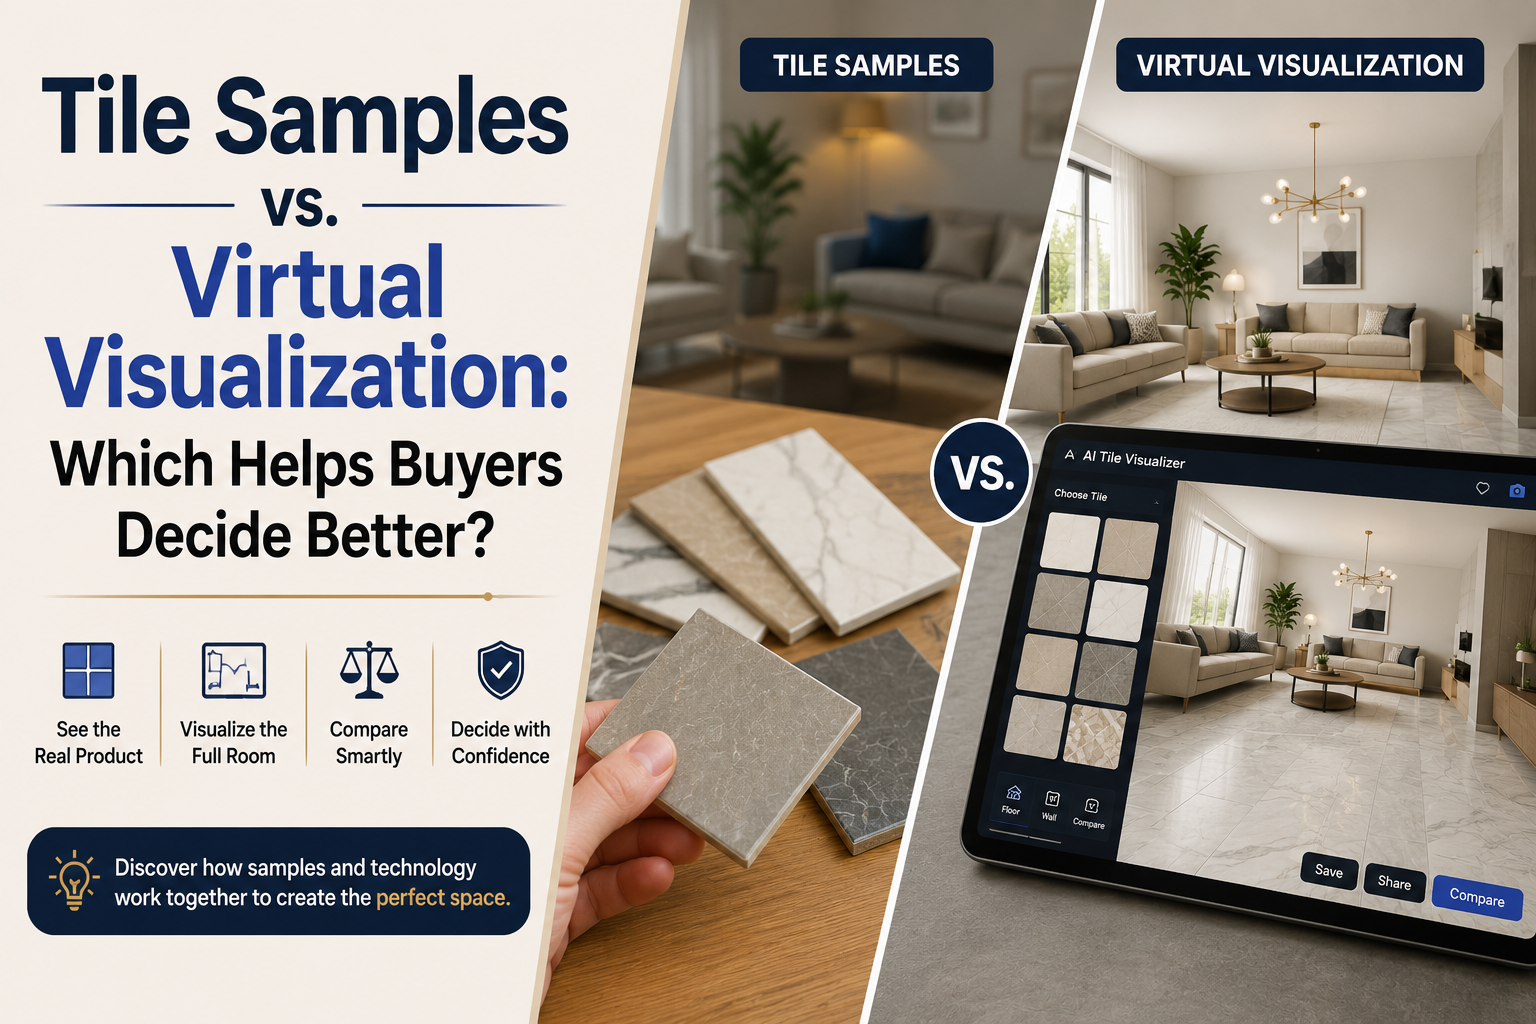
 Picking a tile sounds simple until you're actually doing it. There are thousands of options, different colors, finishes, patterns, and sizes, and somehow you're expected to know which one will look right in your kitchen or bathroom before a single piece is installed. A small tile sample in your hand only tells you so much. A tile visualizer on a screen shows you more of the room, but not the actual product.
So which one actually helps buyers make a better decision: tile samples vs virtual visualization? The honest answer is that both matter, just at different points in the process. This article breaks down exactly where each one helps, where each one falls short, and how to use them together to avoid an expensive mistake.
A tile that looks great in a catalog photo or on a showroom wall can look completely different once it's installed in your own home. That's because tile never exists in isolation, it interacts with everything around it.
Several factors change how a tile actually reads once it's on your floor or wall:
Any one of these can shift how a tile looks from "perfect in the store" to "not quite right at home."
A 4x4 inch sample chip is a fraction of the size of an actual floor or backsplash. Most buyers genuinely struggle to mentally scale that small piece up to cover 150 square feet. Patterns that look subtle on a tiny sample can look busy or overwhelming once repeated across an entire room, and colors that look neutral in isolation can shift dramatically once surrounded by cabinetry, countertops, and lighting.
Ironically, having more options doesn't necessarily make the decision easier. Large catalogs with hundreds of similar-looking tiles can leave buyers overwhelmed rather than confident. Without a way to narrow things down efficiently, shoppers often end up ordering multiple samples, comparing them in isolation, and still feeling unsure, which is exactly the gap that how to choose tile for your home searches are trying to solve.
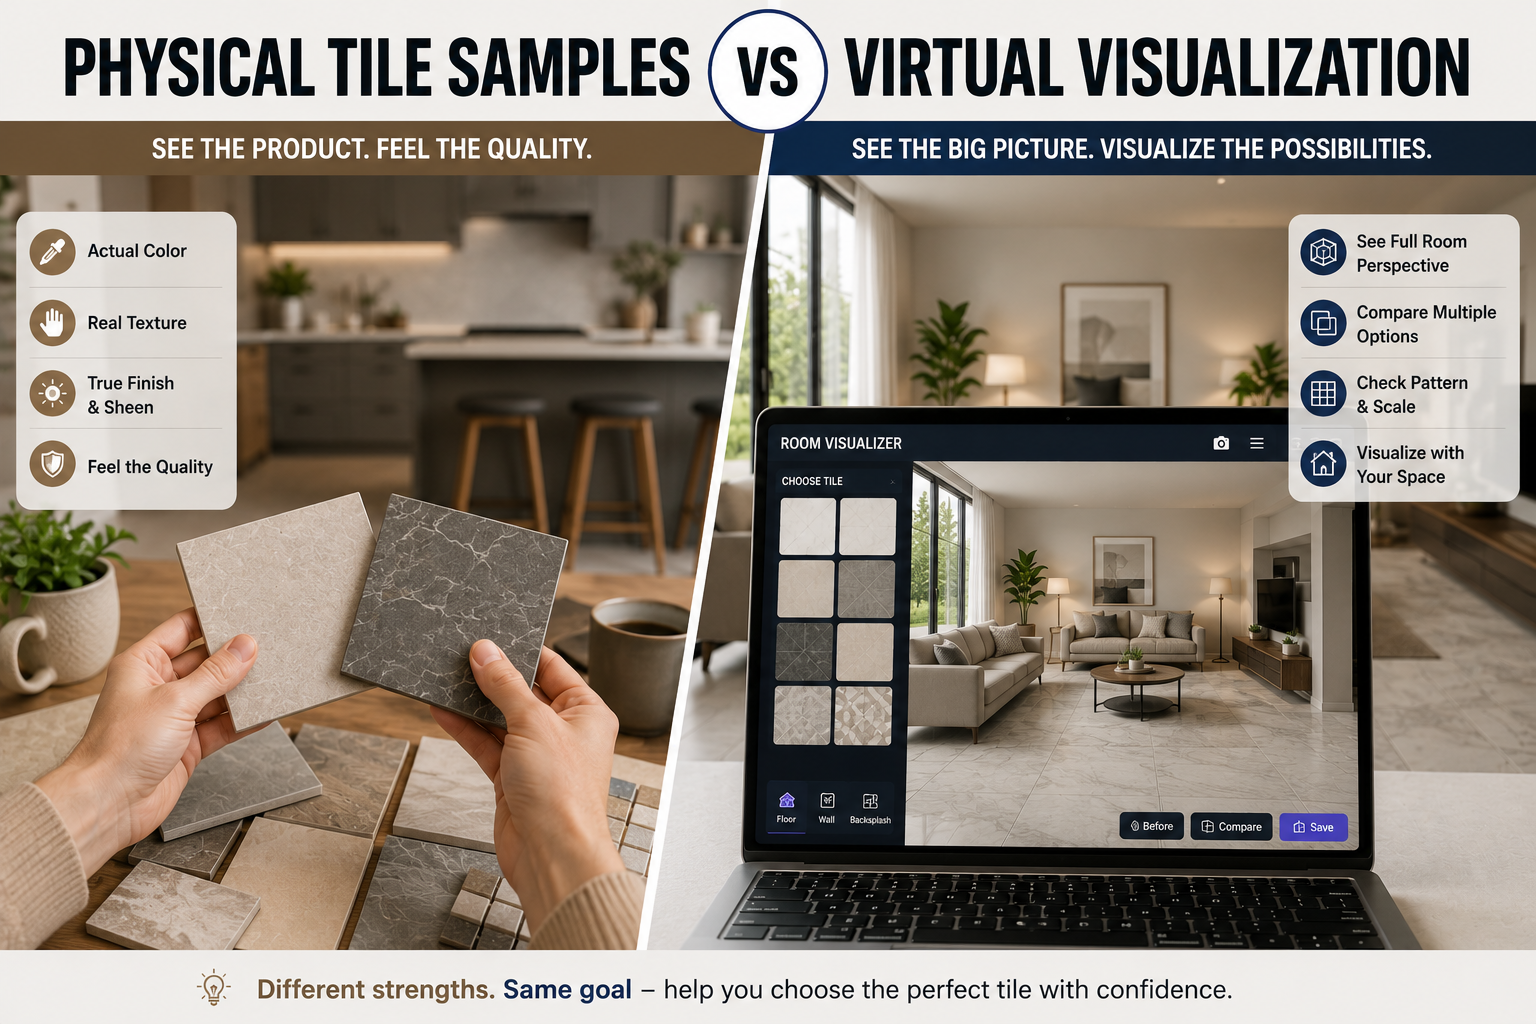
Despite the rise of digital tools, physical samples remain a core part of the buying process, and for good reason. They let buyers directly inspect the thing they're about to spend real money on.
A physical sample reveals:
Physical samples give buyers a level of certainty that no screen-based tool can fully replicate:
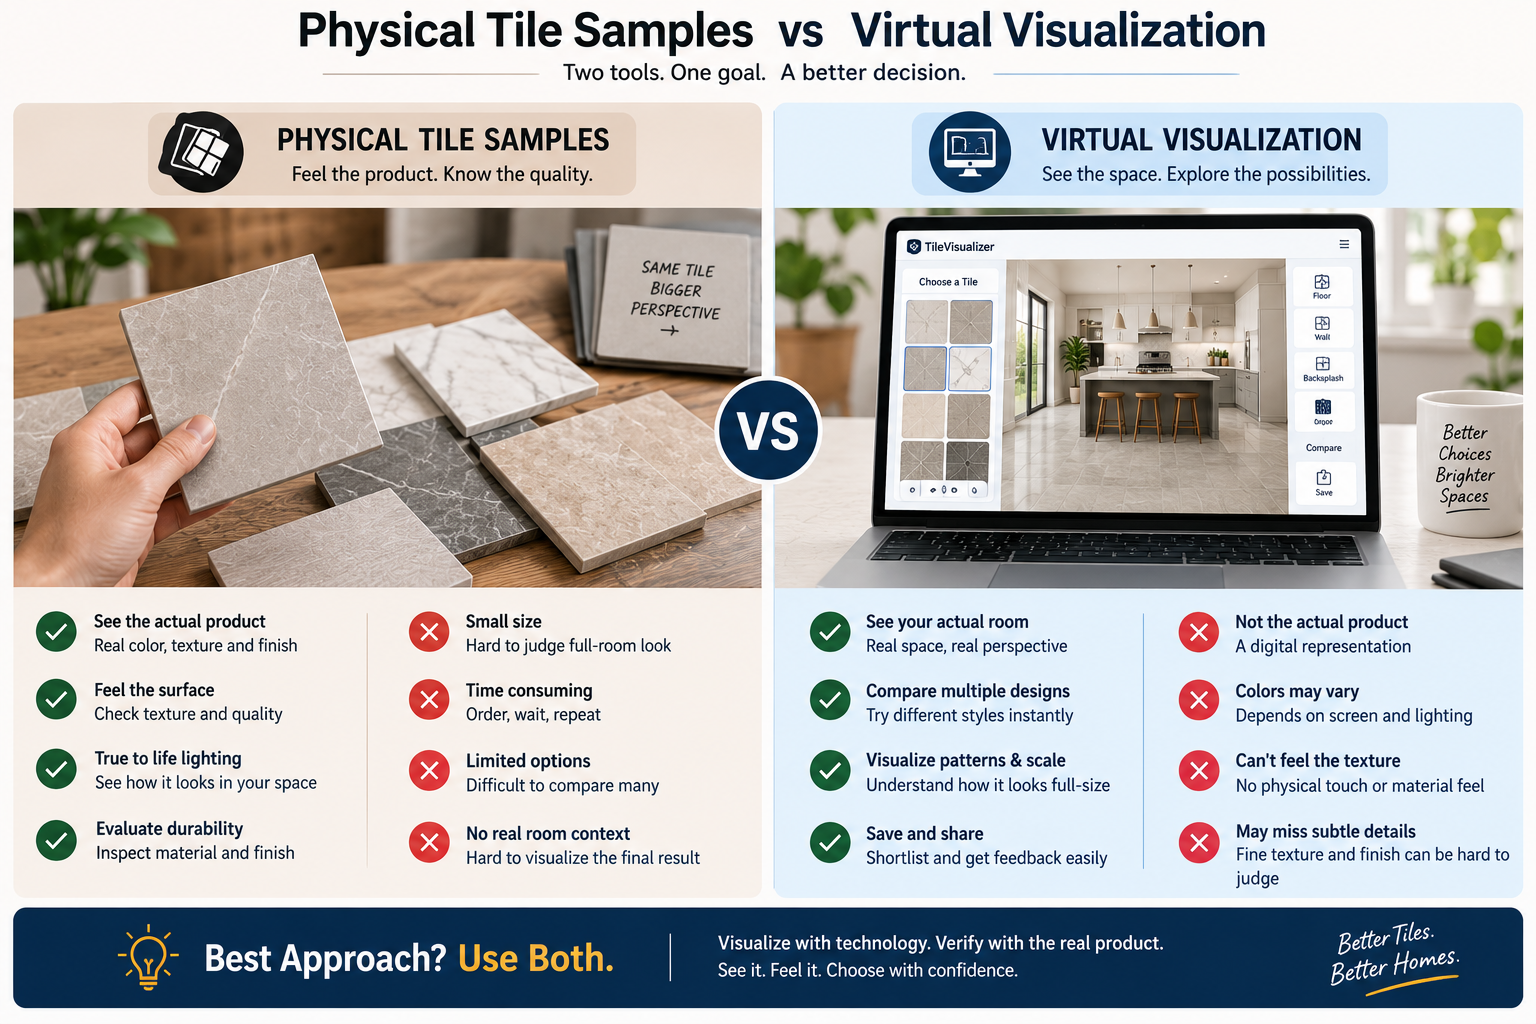
That said, samples come with real drawbacks, this is the physical tile samples pros and cons trade-off buyers need to weigh:
A tile visualizer takes a different approach entirely. Instead of showing you a small piece of the product, it shows you the product applied across your actual room. Buyers typically go through a simple process:
Rather than replicating the physical product, a visualizer helps buyers understand context, things a small sample simply can't show:
This is really the heart of the comparison. Physical samples and virtual visualization aren't competing solutions trying to do the same job, they're solving two different problems in the buying process. A sample answers the question, "What is this product actually like?" A visualizer answers the question, "What would this look like in my space?" Buyers run into trouble when they expect one tool to answer both questions.
The table below breaks down where each method holds up and where it falls short:
|
Factor |
Physical Tile Samples |
Virtual Visualization |
|
Actual material |
Excellent |
Limited |
|
Texture |
Excellent |
Approximate |
|
Color verification |
Excellent |
Approximate |
|
Room context |
Limited |
Excellent |
|
Compare multiple designs |
Difficult |
Easy |
|
Test combinations |
Limited |
Easy |
|
See the design in your room |
Limited |
Strong |
|
Early-stage exploration |
Moderate |
Excellent |
|
Final verification |
Excellent |
Not sufficient alone |
What this table really shows is a pattern: tile samples vs virtual visualization isn't a contest with one winner. Virtual tools dominate the early, exploratory stages of decision-making, where speed and comparison matter most. Physical samples dominate the final stages, where accuracy and material truth matter most. A tile visualizer is a discovery tool. A physical sample is a verification tool. Buyers who understand this distinction tend to make faster, more confident decisions than those who rely on just one method.
There are specific moments in the buying journey where nothing but the real product will do.
If slip resistance, surface texture, or tactile feel is a priority — especially for bathroom or outdoor flooring — a physical sample is non-negotiable.
Screens vary in calibration from device to device. If you're matching tile to an existing countertop, cabinet, or paint color precisely, a physical sample removes the guesswork.
Tile can look completely different under morning sunlight versus evening artificial light. Only a physical sample placed in your actual room lets you test this directly.
Regardless of how confident a digital preview makes you feel, no large tile order should be placed without a final physical check. This step protects buyers from costly surprises after installation.
When Virtual Visualization Is More Useful
On the flip side, there are stages where digital tools clearly outperform physical samples.
Virtual visualization is especially useful for:
A generic showroom photo only goes so far — it can't tell you how a tile will interact with your specific lighting, cabinetry, or layout. This is why the ability to visualize tiles online using a photo of your actual room is so valuable. Buyers who want to see tiles before buying in a space that looks like their own, rather than a stock photo, get a far more realistic sense of the final result. A good virtual tile preview doesn't replace the physical product, but it does replace guesswork with a much more informed starting point.
Here's what the practical workflow typically looks like when using an online tile visualizer tool.
Start with a clear photo of the actual space you're renovating — the more accurate the photo, the more useful the preview.
Choose exactly which surface you want to change: floor, backsplash, shower wall, or accent wall.
Browse the catalog and apply different tile designs to see how each one transforms the space.
Switch between designs quickly to compare color, pattern, and scale side by side, without leaving your screen.
Save the two or three options that feel closest to what you're picturing for the finished room.
Once you have a shortlist, move on to physical samples to confirm texture, color accuracy, and quality before ordering.
Some tools go a step further than a flat photo overlay, offering full 3D room visualization. This adds another layer of context to the decision-making process.
3D visualization typically shows:
A 3D room visualizer is particularly useful for open-concept spaces or homes where multiple rooms flow into one another, since it shows how tile choices carry across sightlines rather than being judged room by room.
It's worth being clear here: even the best 3D visualization is a rendering, not a perfectly accurate representation of the final installation. Lighting engines, screen calibration, and rendering approximations mean the real product can still look and feel different once it's physically installed. 3D tools are excellent for planning, they aren't a substitute for the final physical check.
This is where the comparison becomes genuinely practical. Here's a step-by-step approach that uses both tools at the point where each is strongest.
Start by identifying the specific room and how it's used — a high-traffic entryway has different needs than a guest bathroom.
Get a general sense of direction: modern, traditional, minimalist, natural stone-look, and so on.
Use a tile visualizer to browse a wide range of options without any commitment.
Apply your favorite designs directly to a photo of your actual room to see how they hold up in context.
Use the visual comparison to eliminate anything that doesn't work with your space, lighting, or existing fixtures.
Order samples of your remaining favorites and inspect them in person, ideally at different times of day.
Double-check size, finish, slip rating, and material specifications before placing your final order.
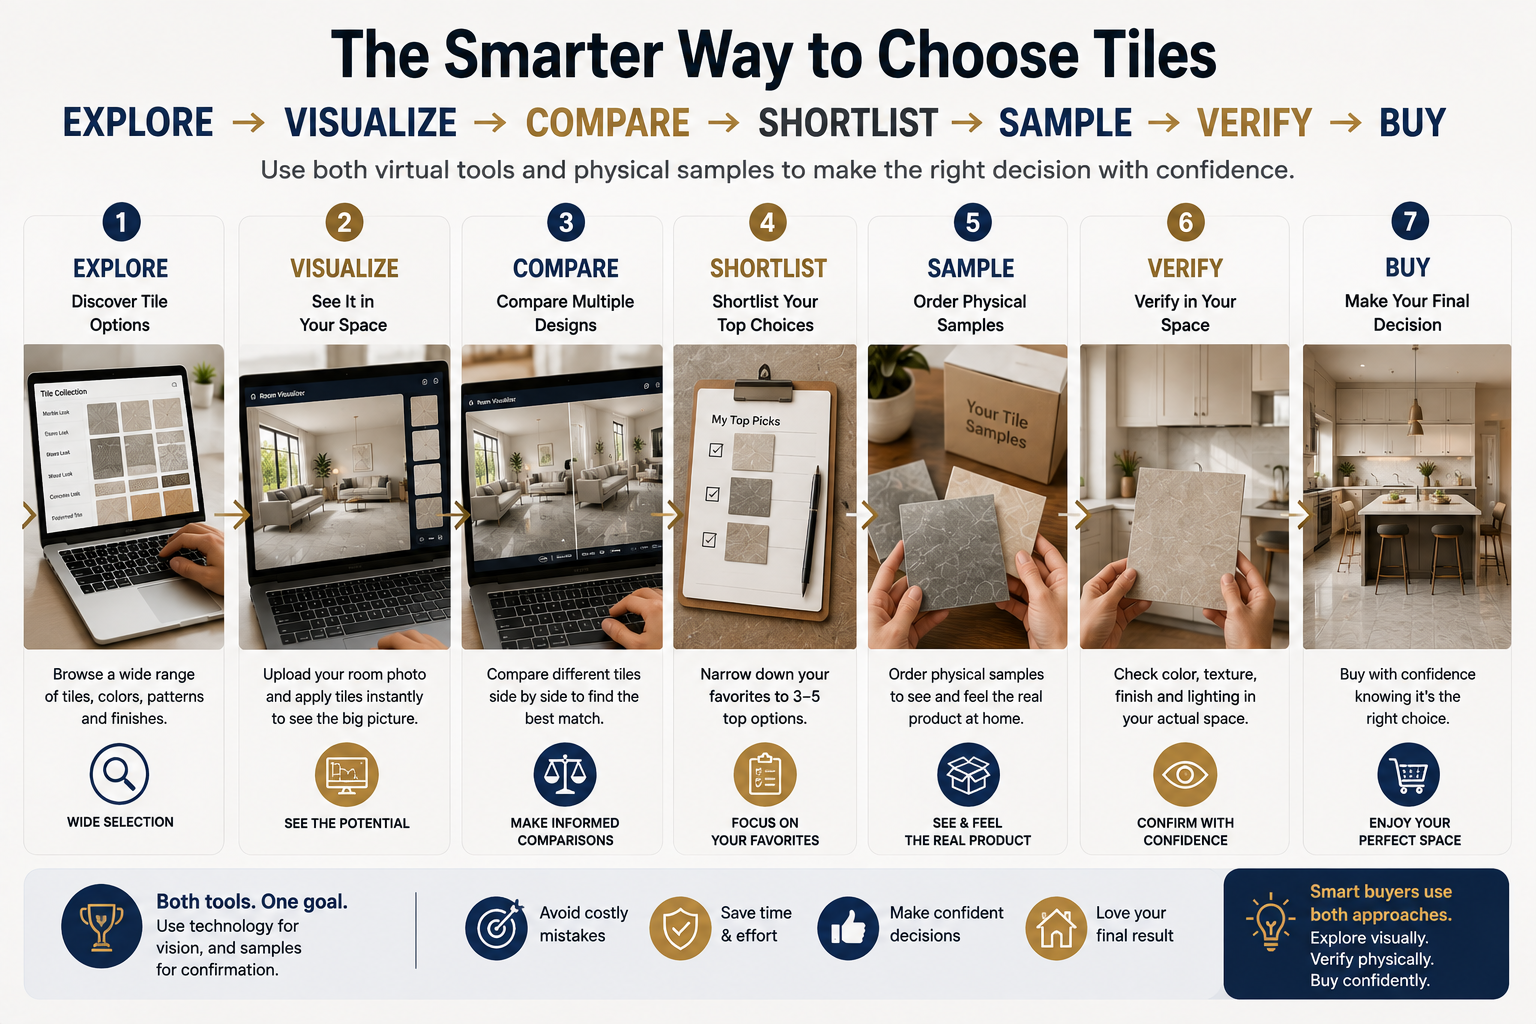
The overall process looks like this: Explore → Visualize → Compare → Shortlist → Sample → Verify → Buy
Consider a homeowner with light-colored walls, dark furniture, wooden accents, and large windows that bring in a lot of natural light throughout the day. They're deciding between four flooring options: a white marble-look tile, a beige stone-look tile, a grey concrete-look tile, and a wood-look tile.
Rather than ordering four separate samples right away, they use a visualizer to apply each option to a photo of their actual living room. The white marble-look tile ends up looking too stark against the dark furniture, and the grey concrete-look tile feels colder than expected under the room's natural light. That narrows things down to the beige stone-look and wood-look options. From there, they order physical samples of just those two, place them on the floor at different times of day, and make their final decision — saving both time and money compared to sampling all four from the start.
A second scenario involves a bathroom renovation where the buyer needs to coordinate wall tile, floor tile, a feature wall behind the vanity, and existing fixtures. Judging each tile separately, as physical samples often force you to do, makes it hard to know whether the combination will actually work together.
Using a visualizer, the buyer applies the floor tile and feature wall tile to the same room photo simultaneously, immediately revealing whether the two designs clash or complement each other. Once a combination that works is identified, physical samples of just that pairing confirm color accuracy and finish before the final order is placed, a far more efficient path than sampling wall and floor tiles independently and hoping they align.
Augmented reality is the next step beyond photo-based visualization, and it's starting to show up in tile shopping tools.
Using a smartphone camera, AR tile visualization overlays a chosen tile design directly onto a live view of the room in real time, adjusting as the buyer moves the phone around the space.
This adds a spatial dimension that flat photos can't offer — buyers can see how a tile design looks from multiple angles and distances without setting anything up in advance.
Even so, AR overlays are still digital approximations. Camera quality, lighting conditions, and screen calibration all affect accuracy, which means physical samples remain necessary before any large purchase.
Not completely — and it's worth being direct about that.
Combining both isn't a compromise, it's simply the more complete approach. Each method fills in exactly what the other one misses.
Putting it all together, the ideal buying journey looks like this:
1. Discover — Explore the full range of tile products online. 2. Visualize — See different options applied directly to your room. 3. Compare — Test several designs against each other quickly. 4. Shortlist — Narrow things down to a realistic short list. 5. Sample — Inspect the actual physical products. 6. Verify — Confirm specifications and installation requirements. 7. Buy — Make the final, confident purchase.
Platforms like TilesDisplay are built around exactly this kind of workflow — letting buyers visualize designs in their own space early on, so that by the time they order physical samples, they're already confident about their top choices rather than starting from scratch.
Coming back to the original question, the answer depends entirely on which stage of the decision you're in.
|
Decision Stage |
Better Option |
|
Product discovery |
Virtual visualization |
|
Exploring many designs |
Virtual visualization |
|
Seeing room context |
Virtual visualization |
|
Comparing combinations |
Virtual visualization |
|
Checking actual texture |
Physical sample |
|
Checking actual finish |
Physical sample |
|
Final product verification |
Physical sample |
|
Overall buying journey |
Both |
The strongest approach isn't choosing one over the other — it's using each tool where it naturally performs best, rather than expecting a single method to do the entire job.
They're accurate enough for design and layout decisions, but not for exact color matching. Screen calibration and lighting rendering mean a tile visualizer should be treated as a strong guide rather than a perfect replica of the finished product.
Yes. Most modern visualization tools let you upload a photo of your actual room and apply different tile designs directly to it, giving you a far more realistic sense of the result than a generic catalog image.
Yes. Even with advanced visualization tools, physical samples remain the only reliable way to confirm true color, texture, and finish before committing to a full order.
Neither is strictly "better" — they serve different purposes. A 3D room visualizer is better for planning and comparing layouts, while a physical sample is better for verifying the actual product before purchase.
Yes, and this is one of the biggest advantages of digital tools. You can apply and switch between several tile designs on the same room photo within seconds, something that's much slower and more expensive to do with physical samples alone.
The most reliable approach combines both methods: explore and narrow down options using a visualizer, then confirm your final choices with physical samples before placing your order.
Physical samples tell buyers what the product actually is. Virtual visualization helps them understand what the product could look like in their own space. Neither one tells the whole story on its own — but together, they cover nearly every question a buyer needs answered before making a big purchase.
The most confident tile decisions follow a simple path: Explore digitally → Visualize → Compare → Shortlist → Check physical samples → Verify → Buy. Buyers who follow this process tend to end up with fewer surprises, fewer returns, and a final result that actually matches what they pictured from the start.